Enable ARI on FreePBX 17 (Asterisk 20): Advanced Settings + AMI User + ARI User (Complete Guide)
Step-by-step guide to enable ARI on FreePBX 17 (Asterisk 20), configure the built-in HTTP mini server, create AMI and ARI users, allow firewall access, and test ARI with curl/WebSocket for apps like VoiceBridge.
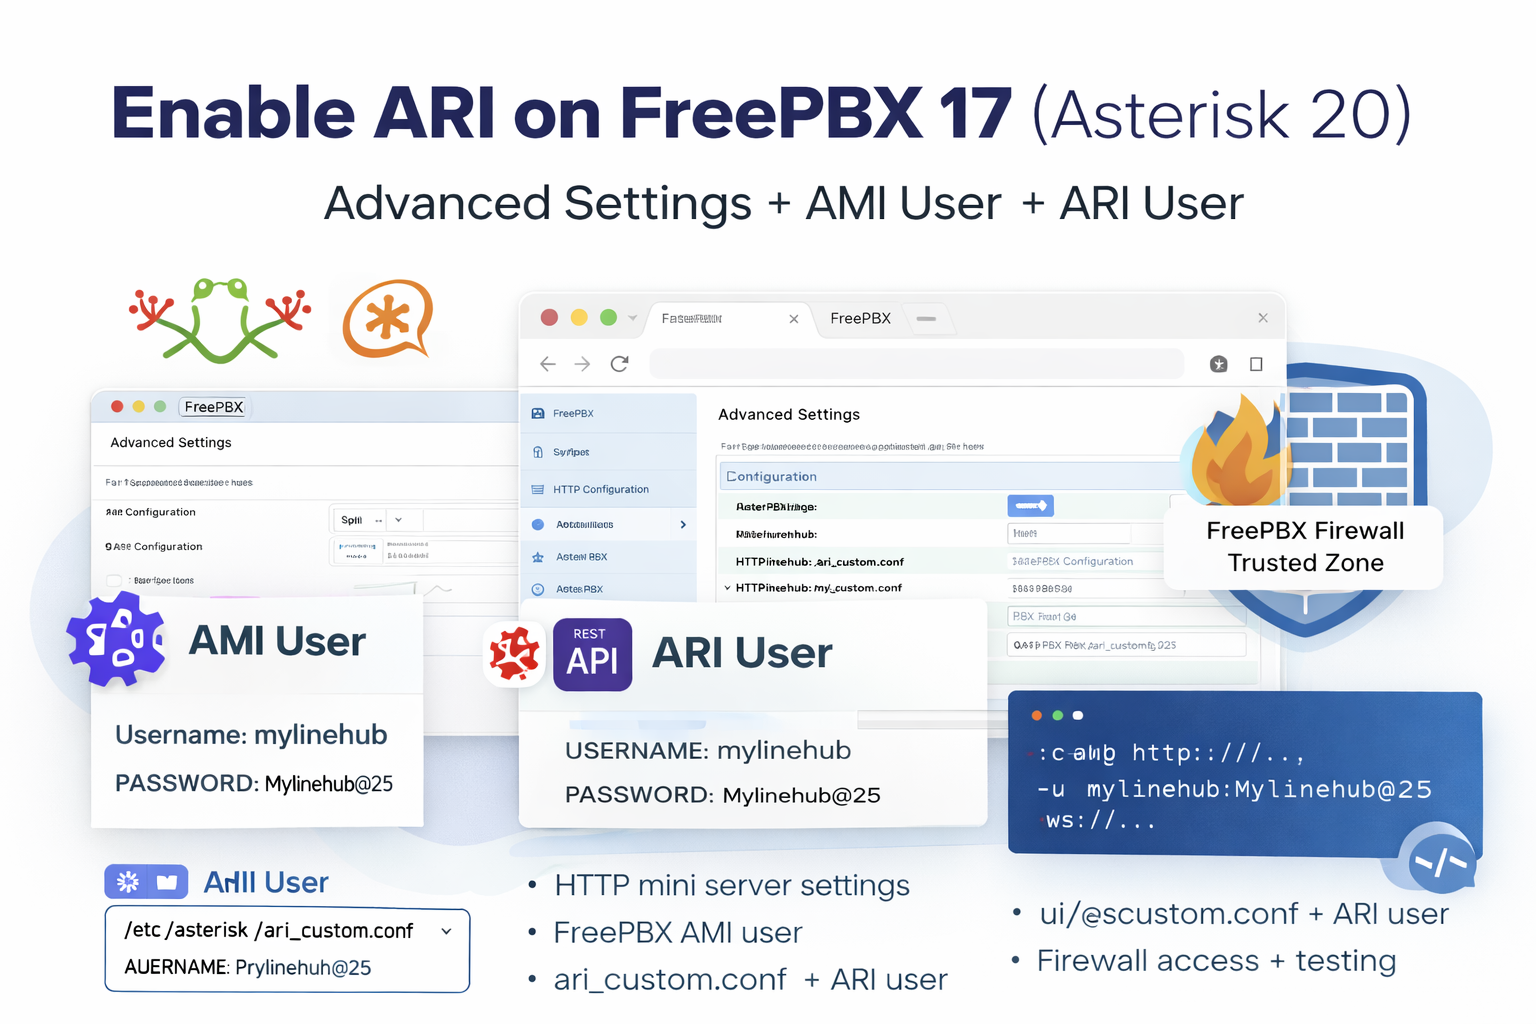
Enable ARI on FreePBX 17 (Asterisk 20): Advanced Settings + AMI User + ARI User
FreePBX 17 ships with Asterisk 20, which supports ARI (Asterisk REST Interface). In many deployments, ARI is not exposed in the GUI and may be disabled or unreachable from external applications by default. This guide shows the clean way to enable ARI in a FreePBX-friendly manner and connect external apps like VoiceBridge.
What you will configure
- Advanced Settings for the built-in HTTP mini server (Asterisk HTTP service)
- AMI User (Asterisk Manager Interface) in FreePBX GUI
- ARI User (Asterisk REST Interface) using the FreePBX-safe custom config file
- Firewall access (Trusted zone / allowed access)
- Testing with curl and ARI WebSocket
1) Configure Advanced Settings (HTTP Mini Server + REST Interface)
ARI runs on the Asterisk HTTP service. If the HTTP server is not enabled/bound correctly, ARI will not work. In FreePBX, check these settings:
- Open Settings > Advanced Settings
- Search for:
- HTTP Enabled (must be enabled)
- HTTP Bind Address (use a safe bind address)
- HTTP Bind Port (commonly 8088)
- HTTPS Bind Port (optional; commonly 8089)
Recommended approach:
- For local-only testing: bind to
127.0.0.1and test from the same server. - For VoiceBridge on another machine: bind to the FreePBX LAN IP (example:
192.168.1.10) - Avoid binding to
0.0.0.0unless you also lock firewall + trusted IPs.
After changing Advanced Settings, apply/reload configuration in FreePBX (and/or restart Asterisk if required).
2) Enable ARI the FreePBX-safe way (ari_custom.conf)
FreePBX regenerates many Asterisk config files. To avoid your changes being overwritten, put your ARI config into:
/etc/asterisk/ari_custom.conf(persistent custom file)
Do NOT edit /etc/asterisk/ari.conf directly.
Step 2.1: Create/Edit ari_custom.conf
sudo nano /etc/asterisk/ari_custom.confAdd this (change the password!):
[general]
enabled = yes
pretty = yes
allowed_origins = *
auth_realm = asterisk

[mylinehub]
type = user
read_only = no
password = Mylinehub@25
Notes
allowed_origins = *is okay for initial testing, but lock it down later.- Use a strong password. Treat ARI like an admin interface.
Step 2.2: Fix permissions
sudo chown asterisk:asterisk /etc/asterisk/ari_custom.conf
sudo chmod 640 /etc/asterisk/ari_custom.conf
3) Create AMI User (FreePBX GUI)
AMI is used for manager actions/events and is commonly required by dialers, monitoring tools, or supporting services around Asterisk.
- Go to Admin > Asterisk Manager Users
- Create a new user:
- Username: mylinehub
- Password: Mylinehub@25 (change it)
- Permissions: choose read/write depending on your use-case
- Deny/Permit: restrict by VoiceBridge IP if your GUI provides it (recommended)
Security tip: If your FreePBX screen allows permit/deny ranges, restrict AMI to your trusted server IPs only.
4) Create ARI User (How it works in FreePBX 17)
FreePBX does not always provide a dedicated ARI user UI. In most FreePBX 17 setups, the reliable approach is:
- Create ARI users in
/etc/asterisk/ari_custom.conf(as shown above) - Reload/restart Asterisk via
fwconsole
That is enough for external applications to authenticate to ARI using:
- Basic Auth (curl:
-u user:pass) - api_key query param in URLs (common in ARI examples)
5) Firewall: Allow VoiceBridge to reach ARI
If FreePBX firewall is enabled, ARI requests from another server will fail unless that IP is trusted/allowed.
- Go to Admin > System Admin > Firewall
- Add your VoiceBridge server IP to Trusted zone
- Ensure port 8088 (HTTP) or 8089 (HTTPS) is reachable only from trusted networks
Example
- FreePBX:
192.168.1.10 - VoiceBridge:
192.168.1.50 - Allow VoiceBridge IP in firewall trusted zone.
6) Apply changes (Reload/Restart)
After making changes, reload Asterisk safely via FreePBX:
sudo fwconsole restartOptional reload:
sudo asterisk -rx "core reload"7) Test ARI (curl)
Test from your VoiceBridge server (or from FreePBX itself) using this command. Replace the IP with your FreePBX IP:
curl -u mylinehub:Mylinehub@25 "http://192.168.1.10:8088/ari/asterisk/info"If ARI is working, you will receive a JSON response containing Asterisk version and system info.
Common errors
- 401 Unauthorized: username/password wrong OR ARI user not loaded
- 404 Not Found: HTTP server not enabled/bound OR wrong port
- Connection refused: firewall blocked OR service not listening on that IP/port
8) Secure allowed_origins (Recommended)
For production, avoid wildcard origins. Lock it down to your real origins.
Update ari_custom.conf:
[general]
allowed_origins = http://192.168.1.50:8083
You can specify multiple origins separated by spaces:
allowed_origins = http://localhost:8088 http://192.168.1.50:8083 https://app.mycompany.comThen restart:
sudo fwconsole restart9) ARI URLs for VoiceBridge
Once ARI works, these are the typical endpoints used by external control apps.
Replace <FREEPBX-IP> and credentials.
ARI REST
http://<FREEPBX-IP>:8088/ari/channels?api_key=mylinehub:Mylinehub@25ARI WebSocket events
ws://<FREEPBX-IP>:8088/ari/events?app=voicebridge&api_key=mylinehub:Mylinehub@25
Tip: Your ARI app name in the WebSocket URL must match the app name used by your Stasis application
(e.g., voicebridge).
10) Summary
- Enable the Asterisk HTTP mini server via FreePBX Advanced Settings
- Create AMI user via FreePBX GUI
- Create ARI user using
/etc/asterisk/ari_custom.conf(persistent) - Allow VoiceBridge IP in FreePBX firewall trusted zone
- Restart with
fwconsole restart - Test with curl and WebSocket endpoints
If you want, I can also create a matching featured image spec for:
/images/docs-freepbx-ari-enable.png (size, layout, text, icons).
Want to see API-driven CRM + Telecom workflows in action? Try the WhatsApp bot or explore the demos.
Comments (0)
Be the first to comment.