FreePBX Firewall: Trusted Networks, Ports, and ARI/AMI Access
Screenshots + clean steps to configure this FreePBX module in a production-safe way.

FreePBX Firewall: Trusted Networks, Ports, and ARI/AMI Access
FreePBX Firewall (Sangoma Firewall) protects your PBX from internet scanning and brute-force attacks. In production, you should treat your PBX like a bank server: allow only what is needed and trust only the networks you control.
This guide covers what you actually configure inside the Firewall module:
- Interfaces → Default zone (decides how strict the firewall is on each NIC)
- Networks → Known Network Definitions (where you add office LAN/VPN/static IPs and assign zones)
- Responsive Firewall (rate-limits and “learns” valid SIP registration attempts)
- Intrusion Detection (Fail2Ban-style blocking + whitelist/import tools)
- How to keep ARI/AMI access safe for integrations like MYLINEHUB VoiceBridge
Open the Firewall Module
Go to: Connectivity → Firewall (in some menus it appears under Admin).
You will mainly work with these tabs: Settings, Interfaces, Networks, Responsive Firewall, and Intrusion Detection.
Step 1: Settings Tab (Overall Firewall Status)
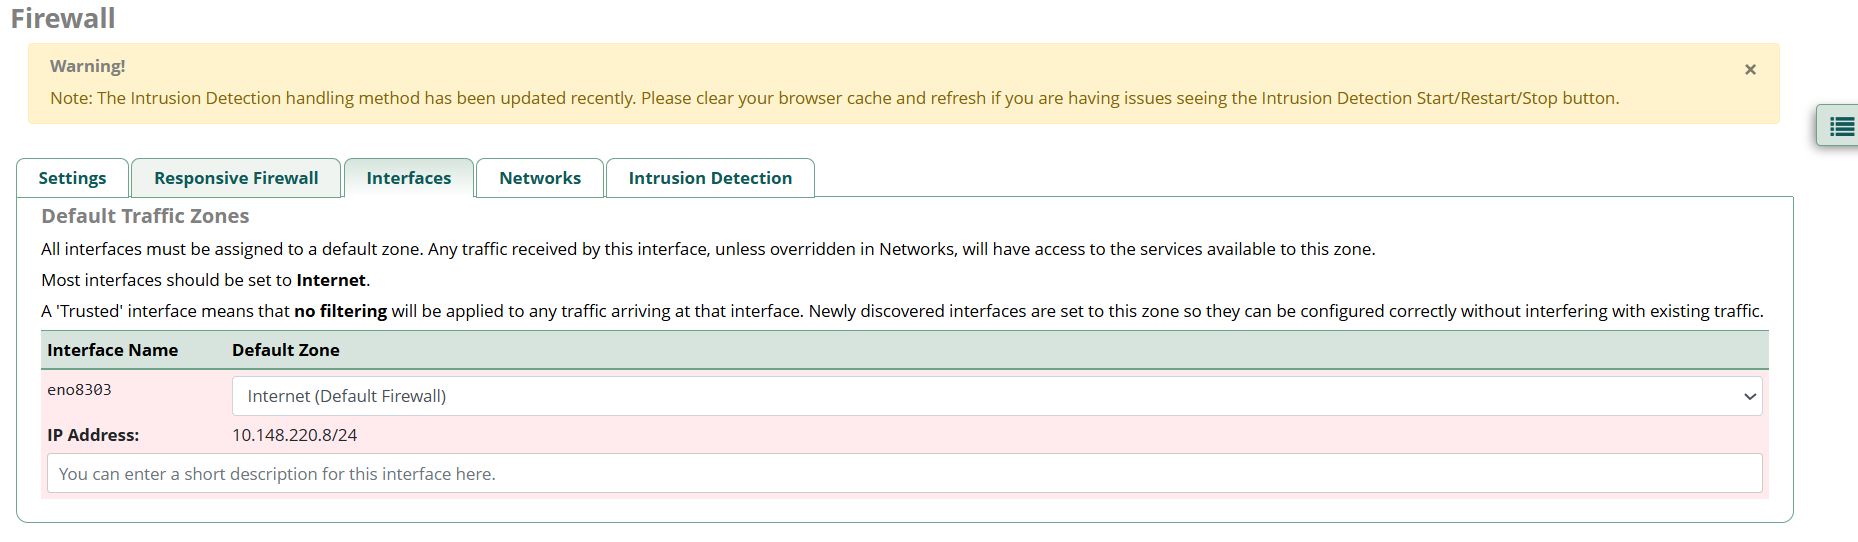
First confirm the firewall is actually running and controlled from here. In the Settings view you will see the status panel and action buttons like: Disable Firewall and Re-Run Wizard.
Production warning: Avoid disabling the firewall on an internet-facing PBX. If you need to troubleshoot, prefer adjusting zones/networks rather than turning protection off.
Step 2: Interfaces Tab (Default Traffic Zones)
Interfaces decide the “default trust level” for traffic arriving on each network card (NIC).
In most servers you’ll have one primary interface (example shown: eno8303)
with an IP like 10.x.x.x/24.
In the Interfaces view you’ll see:
- Interface Name (example:
eno8303) - Default Zone dropdown (example selected: Internet (Default Firewall))
- IP Address of the interface
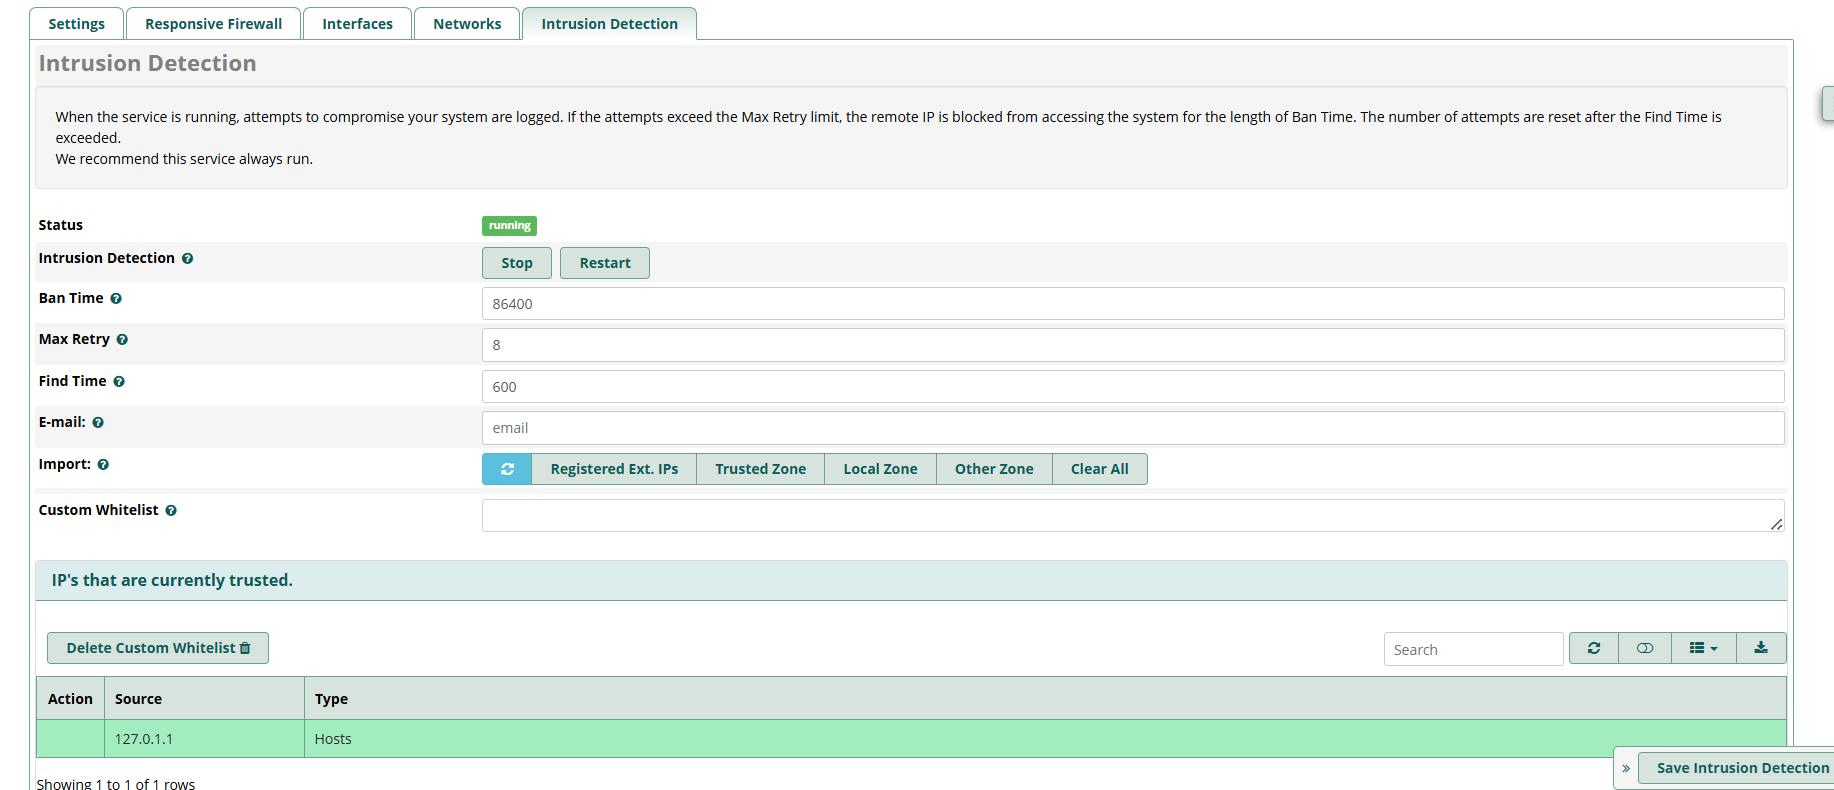
eno8303 set to Internet (Default Firewall)).
How to choose the Default Zone
- Internet (Default Firewall): safest for a public-facing NIC. Unknown traffic is restricted by default. You then selectively allow your trusted networks in the Networks tab.
- Trusted (Excluded from Firewall): means “no filtering” for that interface. Use only for fully private LAN-only environments. Do not set your internet interface to Trusted.
Recommended for most MYLINEHUB deployments: keep your main/public interface on Internet, then add your office LAN/VPN and integration servers as trusted entries (next step).
Step 3: Networks Tab (Known Network Definitions)
This is where you explicitly add networks/hosts and assign them a zone. Typical entries you add:
- LAN subnet (example:
10.78.245.0/24) - A specific host /32 (example:
10.78.245.1/32) - Public static admin IP /32 (office ISP IP)
- VoiceBridge server public IP /32 (if VoiceBridge is hosted outside the PBX LAN)
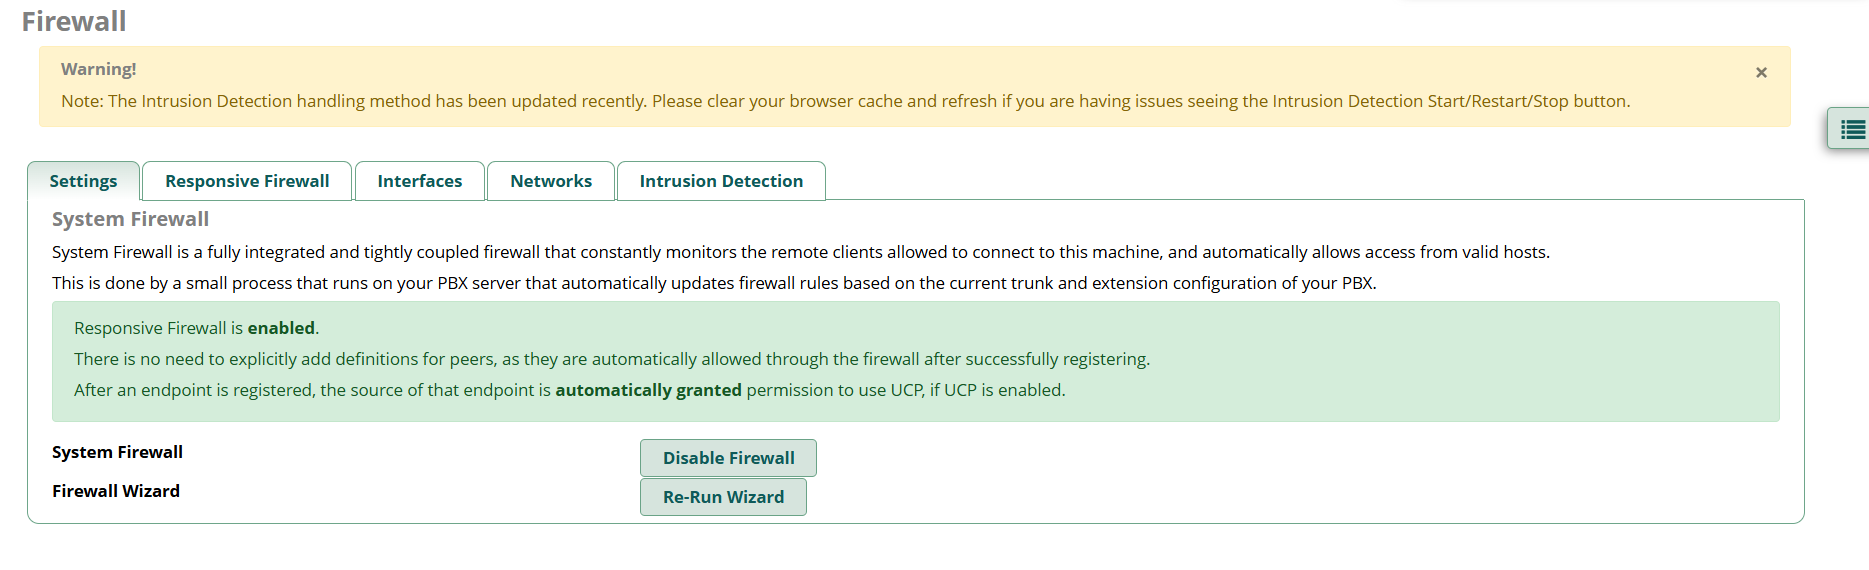
network/host and choose an Assigned Zone
(example shows entries assigned as Trusted (Excluded from Firewall) and an add row with zone like Local (Local trusted traffic)).
What “Network/Host” means
- /32 = one exact IP (best for admin/static IPs and a single integration server)
- /24 = full subnet range (best for office LAN/VPN ranges)
Which zone should you assign?
- Trusted (Excluded from Firewall): strongest “allow” option. Use for your LAN/VPN/admin IPs you fully control.
- Local (Local trusted traffic): also used for local networks depending on your design. If you are unsure, prefer Trusted for your admin/VPN networks.
- Internet: do not “add” random internet IPs here. Internet is the default for unknown traffic.
Practical safe pattern: Put your admin access + internal networks in Trusted, keep everything else under Internet by default.
After adding networks, save/apply firewall changes and verify: FreePBX GUI access still works from your admin network.
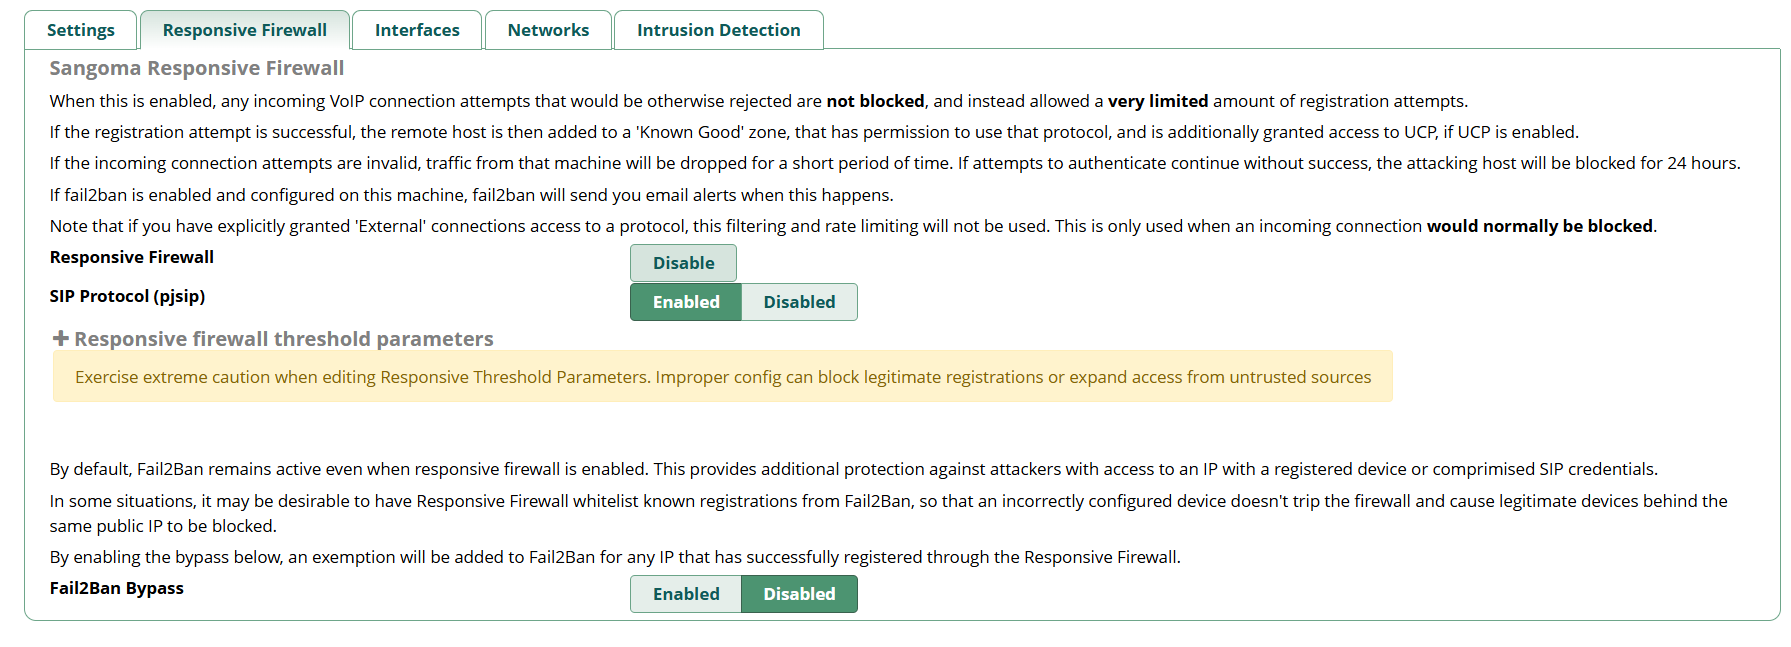
Step 4: Responsive Firewall (SIP Registration Protection)
Responsive Firewall is designed for VoIP traffic (SIP) and tries to stop scanners/brute-force attempts by allowing only limited registration attempts from unknown sources. If a device successfully registers, it is treated as “known good”.
What to set here (production defaults)
- SIP Protocol (pjsip): Enabled (if you use PJSIP endpoints/trunks)
- Fail2Ban Bypass: keep it Disabled unless you clearly understand why you want it. (Bypass can reduce false blocks for legitimately registered IPs, but it can also widen trust if misused.)
Important: Responsive Firewall does not replace “proper allow-listing”. Your cleanest design is still: Phones on LAN/VPN (Trusted) and only trunk/provider IPs allowed as needed.
Step 5: Intrusion Detection (Fail2Ban-style Blocking)
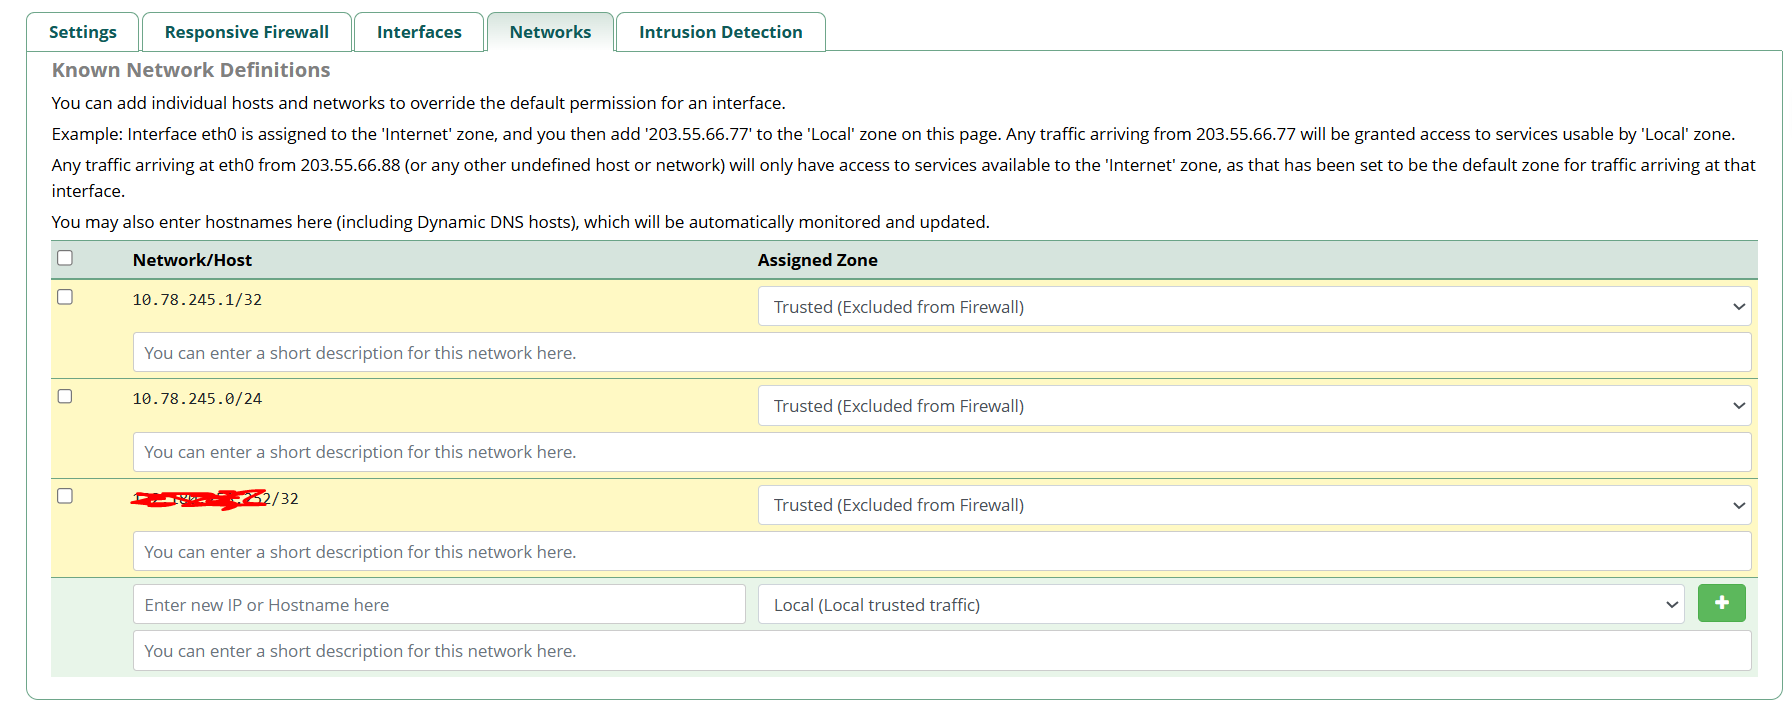
Intrusion Detection blocks repeat offenders based on login/registration failures. This is where you control the “ban rules” and manage whitelists.
Meaning of the key fields shown
-
Ban Time (example:
86400): how long an IP stays blocked (86400 seconds = 24 hours). -
Find Time (example:
600): the time window to count failures (600 seconds = 10 minutes). -
Max Retry (example:
8): how many failures are allowed within Find Time before banning. - E-mail: where alerts can be sent (optional but useful for production).
Import buttons (why they matter)
- Registered Ext. IPs: quickly whitelist currently registered phones (useful if you see false bans)
- Trusted Zone / Local Zone: import those zone IPs into whitelist logic
- Clear All: resets imported items (use carefully)
Custom Whitelist
Use Custom Whitelist to permanently exempt your known safe sources: office static IPs, VPN egress IPs, and your VoiceBridge integration server IP. Keep the whitelist small and intentional.
ARI/AMI Access for MYLINEHUB VoiceBridge (Safe Pattern)
ARI (Asterisk REST Interface) and AMI (Asterisk Manager Interface) are admin-grade APIs. Treat them like SSH: never open them to the full internet.
Safe approaches:
- Best: Put VoiceBridge on the same LAN/VPN as FreePBX, and keep ARI/AMI accessible only from Trusted.
- If VoiceBridge is hosted outside: add VoiceBridge public IP as /32 in Networks → Known Network Definitions and assign it to Trusted.
If ARI/AMI connectivity fails, 90% of the time it’s because: the source IP is not trusted, or the service is not allowed for that zone.
Quick checks (from VoiceBridge host):
# ARI port example (depends on your Asterisk HTTP config)
nc -vz PBX_IP 8088

# AMI default port
nc -vz PBX_IP 5038
Production Checklist
- Interfaces: public NIC default zone = Internet (Default Firewall)
- Networks: add LAN/VPN/admin IPs (+ VoiceBridge IP) as Trusted
- Responsive Firewall: SIP (pjsip) enabled if you use PJSIP
- Intrusion Detection: set sane ban rules; whitelist only known-safe IPs
- Never expose ARI/AMI to the open internet
- After every change: save/apply and re-test GUI + registrations + calls
Once firewall is stable, your next “call quality” layer is: NAT + External Address/Local Networks + RTP range consistency.
Want to see API-driven CRM + Telecom workflows in action? Try the WhatsApp bot or explore the demos.
Comments (0)
Be the first to comment.