I Have Received My MYLO Box — What Do I Do First?
Connect the appliance, open MYLO in your browser and let the guided setup take you through the information needed for your network, telecom connection, users and calling requirements.
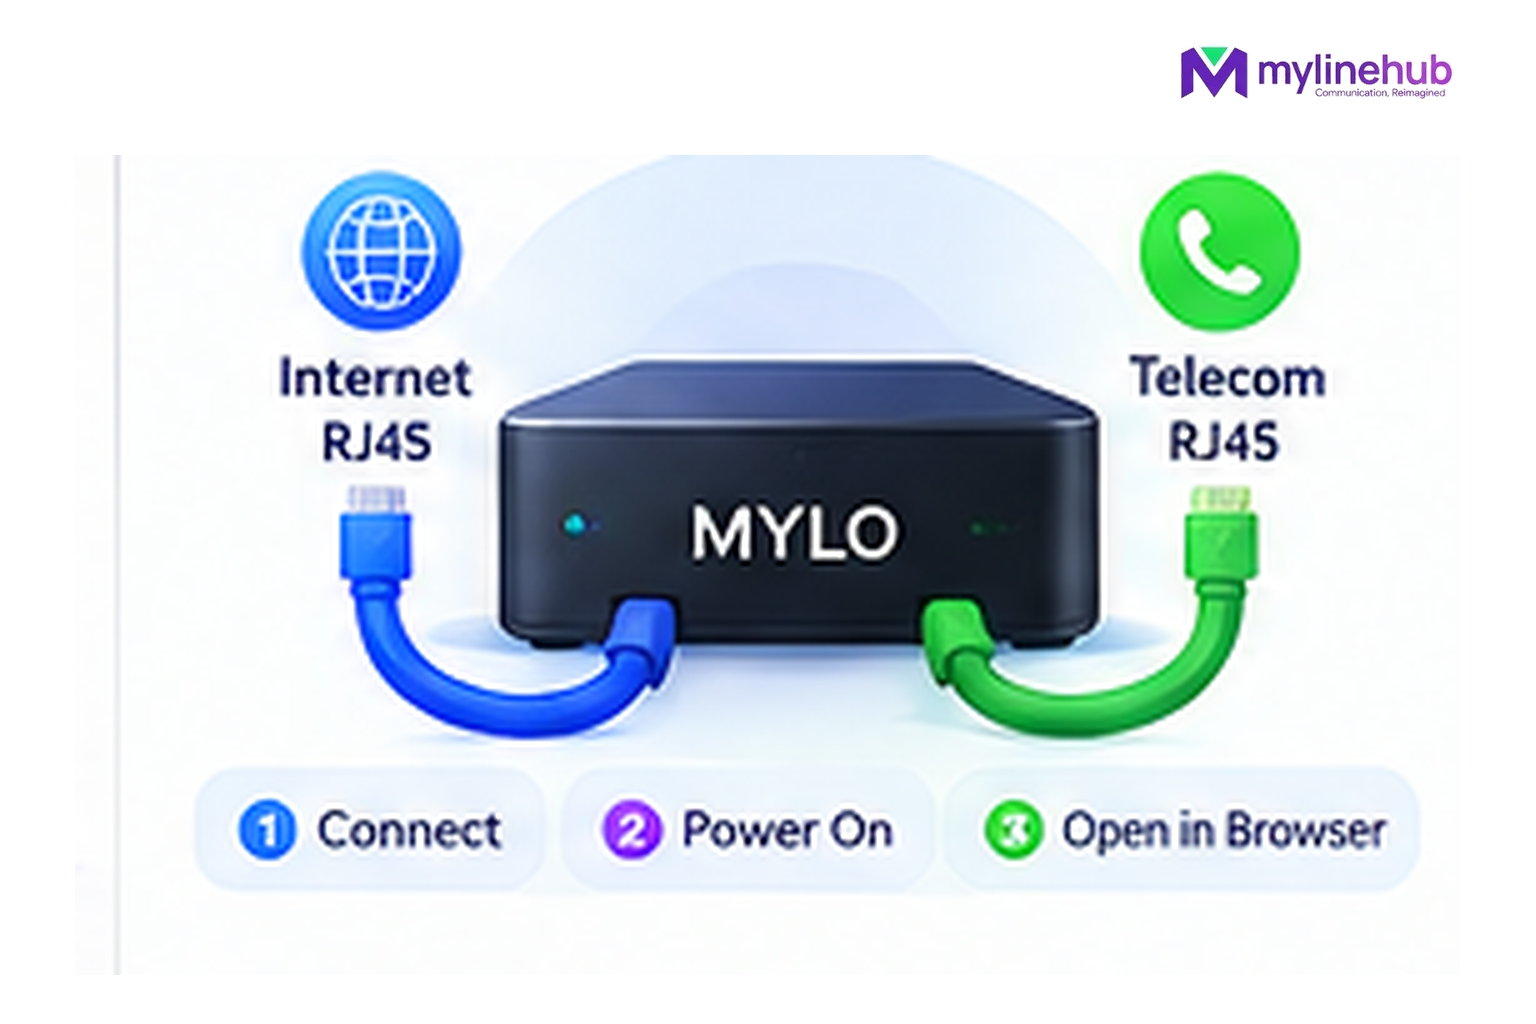
When the MYLO appliance arrives, the job is not to open Linux and begin typing telecom commands. The product journey is to connect the appliance correctly, open MYLO in a browser and work through its guided setup stages until a real test call confirms the completed path.
Quick answer
- Start from the business outcome; MYLO uses conversation to gather or clarify the information it needs.
- Consequential telephony work stays inside the product's permissions, validation and approval boundaries.
- The telecom provider remains responsible for public numbers, carrier service, capacity and provider-side conditions.
From unopened box to first verified call
First: Give the Appliance Its Two Network Connections
The MYLO appliance is designed around two network interfaces: one for the normal Internet/business-network side and one for the carrier or telephony side. The exact carrier handoff depends on the telecom service you have purchased. Do not swap cables or invent static addresses from an example; MYLO can inspect available interfaces and asks when the carrier connection is unclear.
See the two-cable MYLO guide for the physical picture.
Second: Open MYLO and Follow the Setup Journey
The v0.35 setup order is network, AI provider, carrier trunk, telephone users, incoming calls, outgoing calls, test call and ready. The browser guidance is data-driven and designed to keep the customer focused on the next missing decision.
If you are unsure how to reach the appliance from another computer, use How to find and open MYLO on your office network.
Third: Bring the Provider Information, Not Telecom Expertise
For the carrier step, MYLO expects the provider document or exact carrier details. It inspects the current appliance before proposing a change. That is very different from asking a buyer to understand every Asterisk configuration field. Your responsibility is to provide accurate provider evidence and business decisions; MYLO handles the supported configuration workflow.
Last: Make a Clearly Labelled Test Call
The setup is not considered complete merely because a file was written. The test stage is intended to place and confirm a trunk test call. In v0.35, an answered test call can mark the test stage complete when the local call-event path reports the successful result.
Real carrier behaviour still depends on the actual installed appliance and telecom service, so test after installation rather than treating a simulation or screenshot as proof.
Continue From Here
Custom Requirements and Telecom Responsibility
MYLO configures and operates the customer's local telephony layer; it is not the telecom carrier. Numbers, trunk service, calling charges and provider-side permissions remain with the customer's telecom provider. Where a requirement sits outside the standard MYLO package, MyLineHub can discuss it as a Custom Requirement.
Customisation does not override telecom-provider conditions, customer-consent obligations or applicable Indian telecom requirements. The final calling design must use services and number-routing methods that the business is permitted to use.
Want to see API-driven CRM + Telecom workflows in action? Try the WhatsApp bot or explore the demos.
Comments (0)
Be the first to comment.